Scheduling Jobs
Each Job can be set up to have its own Schedule. When a schedule has been configured and enabled for a Job, it will be automatically executed by the Starfish Scheduler Windows Service.
Each job can have it's own schedule. To set up a schedule go to the Mapping tab.
After saving the new schedule, you have to also “Deploy to Web Service” and then restart the service.
There are three different types of schedules that can be configured.
| Schedule Type | Description |
|---|---|
| Time Interval | Job will be launched on every specified interval of minutes or hours. |
| Daily | Job will be launched at the same time every day. If an error occurs, you can define the Scheduler should react. |
| Weekly | Similar to Daily, but can specify which days the Job is launched as opposed to every day of the week. |
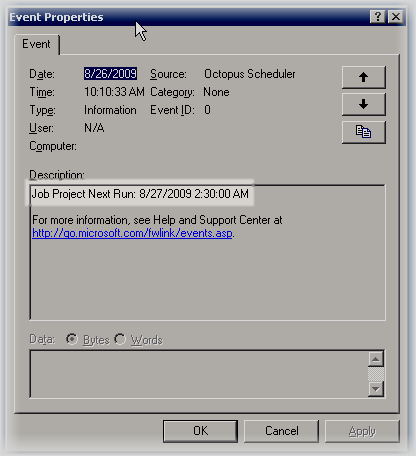
Be sure the “Starfish Scheduler” service is running on the desired server. Check the Event Viewer for error and informational logs from the Scheduler service. To make sure everything is being read correctly by the service, after the service starts, check the Event Viewer. An Informational event should be created for each Job, showing the next time the Job is scheduled to run.
Any time after making a change to a job's schedule, you will have to restart the Scheduler service.
When multiple jobs are chained together, you only need to configure the schedule on the first job. Subsequent chained jobs will automatically run after each other.
Note that it is possible to run Jobs even faster than every 1 minute. You have to setup your job to run every minute, edit the XML and change the parameter to a decimal. .25 would be every 15 seconds.
...
	<Schedule Type="0" Enabled="True" Param1=".25" Param2="Minutes" FailAction="0" RetryInterval="0" ReschedFrom="0" ThreadCount="1" />
</JobInfo>

