Starfish Admin
You will install the Admin tool on the workstation where you plan to do your job development. The installation requires the .NET Framework 4.0, and will need the ability to access the web service set up in the previous step. An easy way to test this is open the web service in a browser, substituting “localhost” for the actual server name.
Installation Steps
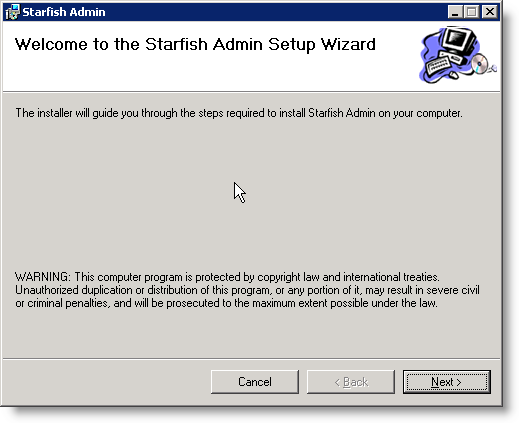
1. Run StarfishAdminSetup.msi on the desired Workstation.
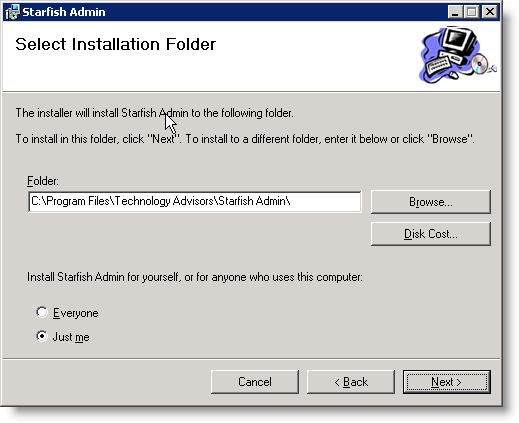
2. Select the installation folder, and the default access.
3. Click next and complete installation.
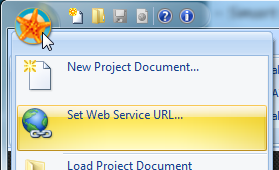
4. The first time you start Starfish Admin, it is recommended you set the Starfish Engine Web Service URL. Click the round Starfish button, then “Set Web Service URL” from the menu.
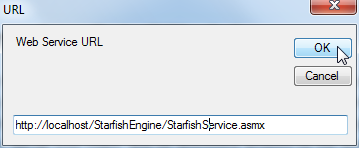
5. In the window, set the location (default if on the same machine is http://localhost/StarfishEngine/StarfishService.asmx)
For help adding your license key to the Starfish Admin please see License Key.


